How to judge the accuracy of a machining center
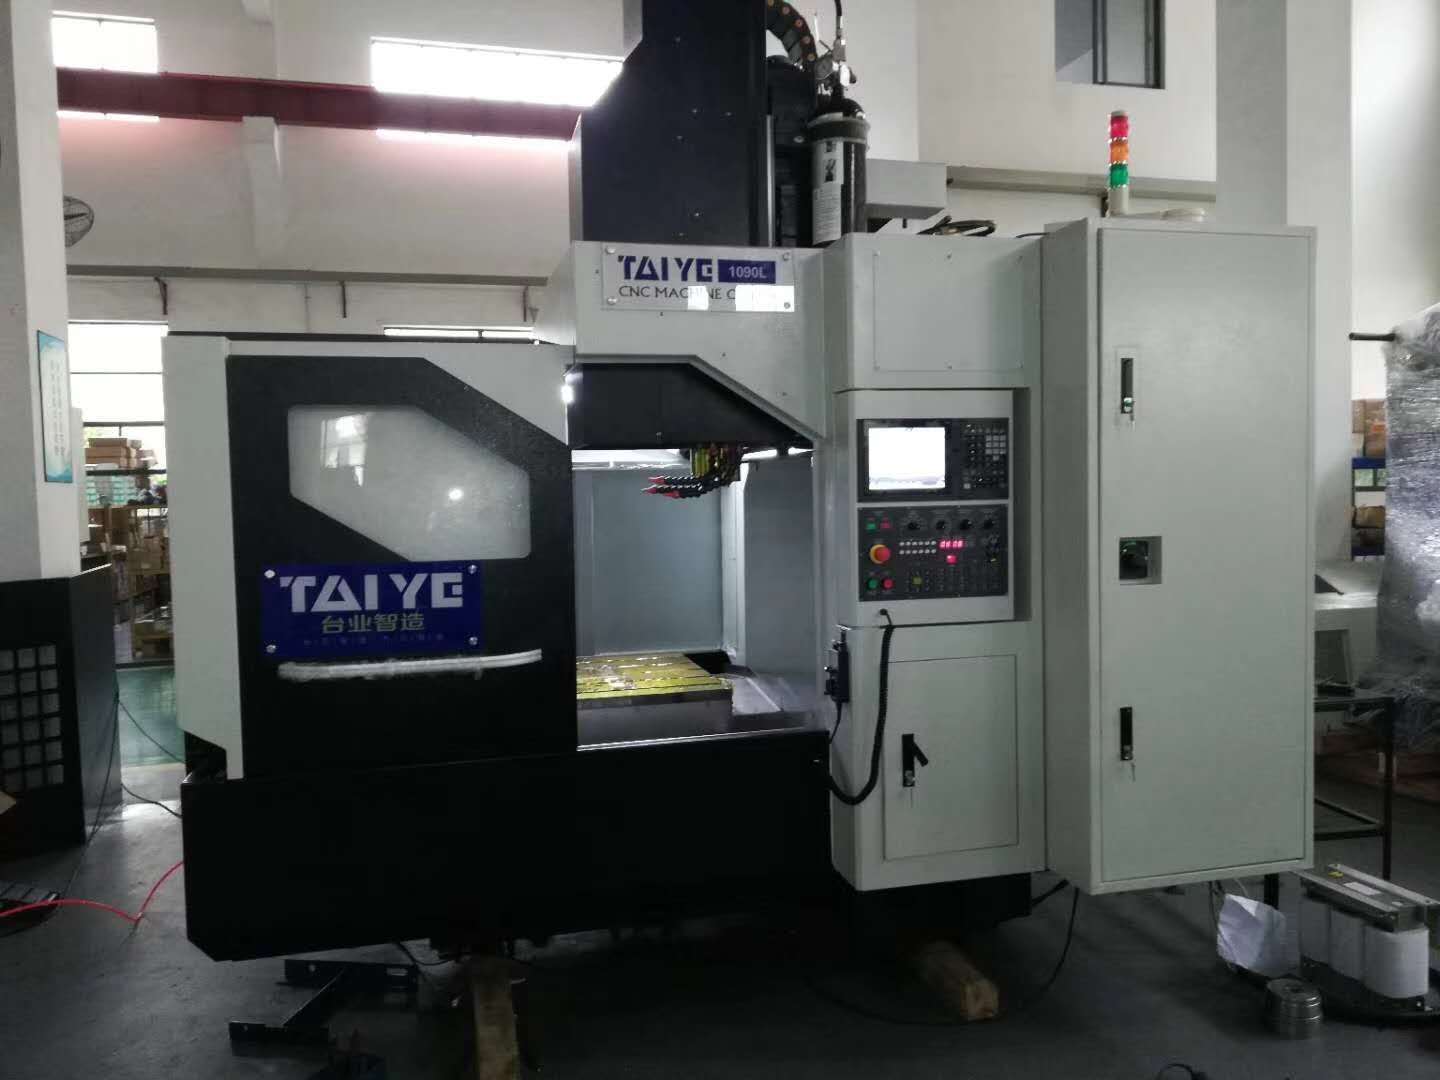
The CNC machining center is one of the most widely used CNC machine tools in the world, its comprehensive processing ability is relatively strong, the workpiece can complete more processing content after one clamping, and the processing accuracy is high. How to judge the accuracy of a machining center, we can try the following methods.
1. Positioning of the test piece of the vertical machining center:
The test piece should be located in the middle of the X stroke, and placed along the Y and Z axes at an appropriate position suitable for the positioning of the test piece and fixture and the length of the tool. When there are special requirements for the positioning of the test piece, it should be specified in the agreement between the manufacturer and the user.
2. Fixation of test piece:
The test piece should be easily installed on a dedicated fixture to achieve the maximum stability of the tool and fixture. The mounting surface of the fixture and the test piece should be straight.
The parallelism between the mounting surface of the test piece and the clamping surface of the fixture shall be inspected. Appropriate clamping methods should be used so that the tool can penetrate and machine the full length of the center hole. It is recommended to use countersunk screws to fix the test piece to avoid interference between the tool and the screw. Other equivalent methods can also be used. The total height of the test piece depends on the selected fixing method.
3. The material, knife and cutting parameters of the test piece:
The materials, cutting tools and cutting parameters of the test piece are selected according to the agreement between the manufacturer and the user, and should be recorded. The recommended cutting parameters are as follows:
① Cutting speed: about 50m/min for cast iron parts; about 300m/min for aluminum parts.
② Feed amount: about (0.05~0.10) mm/tooth.
③ Depth of cut: The depth of cut in the radial direction of all milling operations should be 0.2mm.
4. The size of the test piece:
If the test piece is cut several times, the outer dimension is reduced, and the hole diameter is increased. When used for acceptance inspection, it is recommended that the final profile processing test piece size is consistent with the provisions of this standard, so as to faithfully reflect the cutting accuracy of the machining center. The test piece can be used repeatedly in the cutting test, and its specifications should be kept within ±10% of the characteristic dimensions given in this standard. When the test piece is used again, before a new fine-cutting test, a thin-layer cutting should be performed to clean all the surfaces before the test.
It is estimated that you will encounter another problem in the process of using the machining center. Why does the accuracy of the machining center become worse when it is used? Did we buy parallel imports?
The poor machining accuracy of the parts of the machining center is generally due to the fact that the feed dynamics between the axes are not adjusted according to the error during installation and adjustment, or the transmission chain of each axis of the machine tool has changed after wear and tear (such as screw clearance, pitch Error changes, axial movement, etc.). It can be solved by re-adjusting and modifying the clearance compensation amount.
When the dynamic tracking error is too large and alarms, you can check: whether the servo motor speed is too high; whether the position detection element is good; whether the position feedback cable connector is in good contact; whether the corresponding analog output latch and gain potentiometer are good; Whether the corresponding servo drive device is normal.
If the machining accuracy is not good due to overshoot when the machine is moving, it may be that the acceleration and deceleration time is too short, and the speed change time can be appropriately extended; it may also be that the connection between the servo motor and the lead screw is loose or the rigidity is too poor, and the position can be appropriately reduced. The gain of the loop may be the roundness of the two-axis linkage is out of tolerance, and this deformation may be caused by the mechanical not being adjusted properly. Poor positioning accuracy of the shaft or improper compensation of the screw gap will cause roundness errors when crossing the quadrant.
Taiye machine provide a full set of professional extrusion die equipment and extrusion die, We have an aluminum extrusion die factory and a professional extrusion die equipment company in China. Each of taiye machines is professionally customized for the aluminum extrusion die process, with simple operation and high efficiency.
